I suppose the best way to start plants from seeds should be a stress relief process and it would be by simply scatter them in your garden. But here are a few more things I have learned over a lifetime of gardening that I’d like to share with you now.
The first thing to know about how to start plants from seeds is that the health of the seedlings has a direct impact on the crops later on. So you need to make sure that they are stress-free and well cared for.
Here are my thirteen stress relief steps to help you start plants from seeds and to master the art and science of growing a productive, beautiful, and tasty harvest.
Step one: The growing location
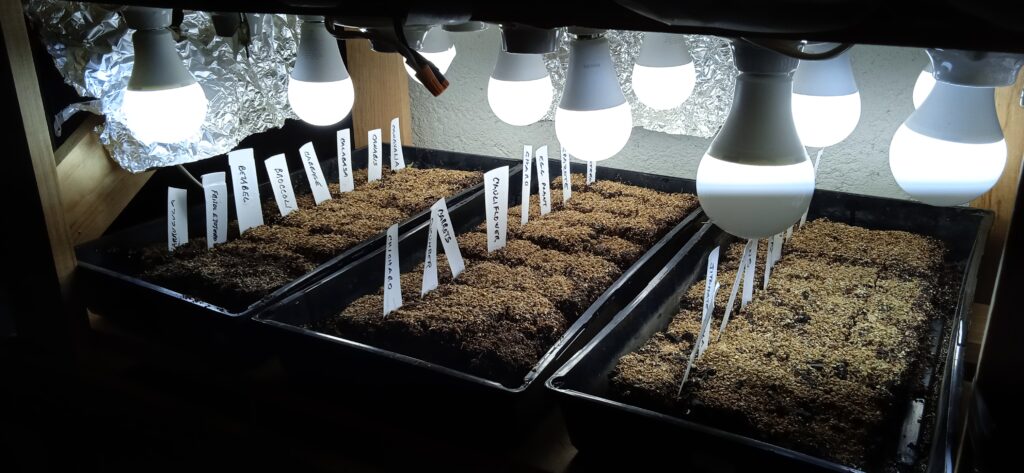
The first step to growing plants from seeds is to check the location where you will start them.
If you are starting early in the season, it needs to be undercover. I’m fortunate that I have an indoor seed starting stand where my seedlings get plenty of light, warmth, and air.
But don’t worry. If you don’t have a place like this, you can use a simple work light. Or you can use a sunny window sill if you rotate the seedlings to prevent them from growing toward the light.
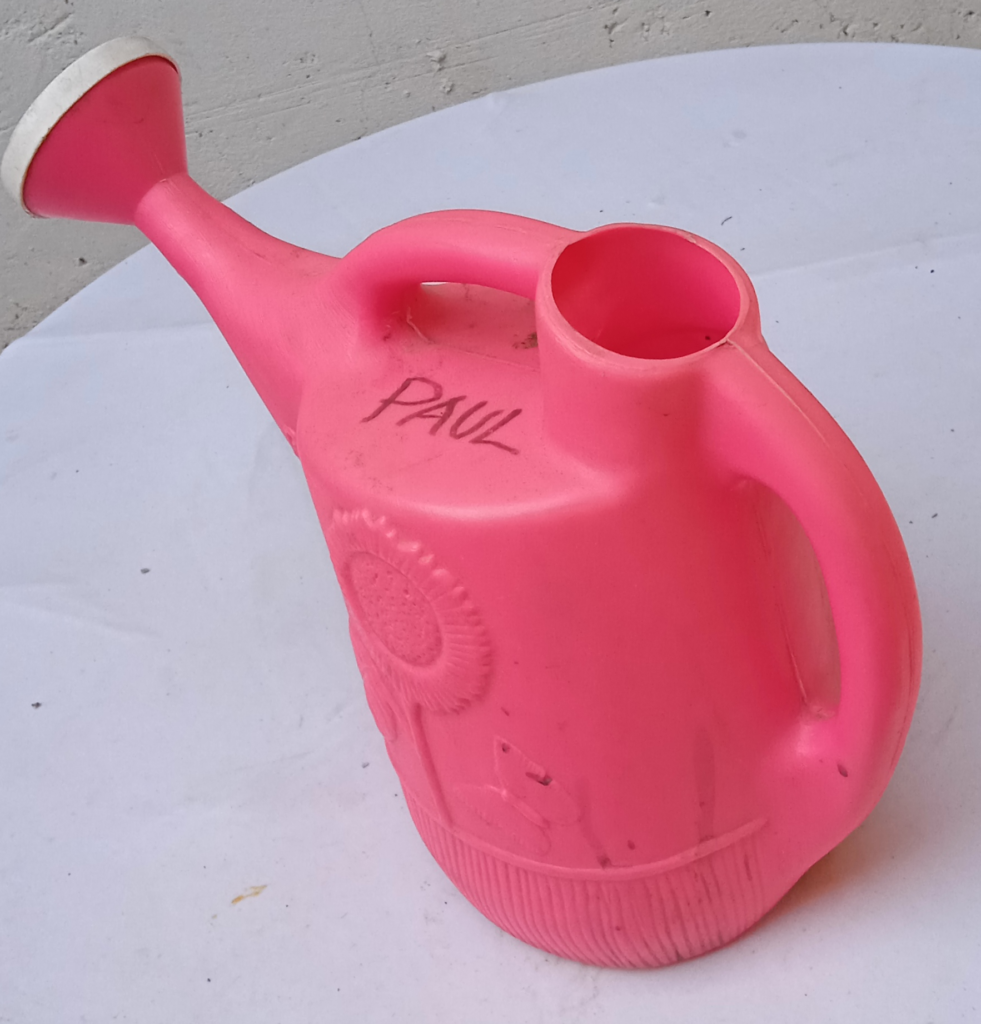
You also need to be close to a water source, like a hose or a sink. Lacking those things, you can use a watering can.
Finally, you need a clear, clutter-free workspace to start your seed sowing. You need to approach this space like a kitchen. You don’t want to start cooking when your kitchen is full of dirty dishes, pots, pans, and utensils.
Step two: The timing of the crops you're growing
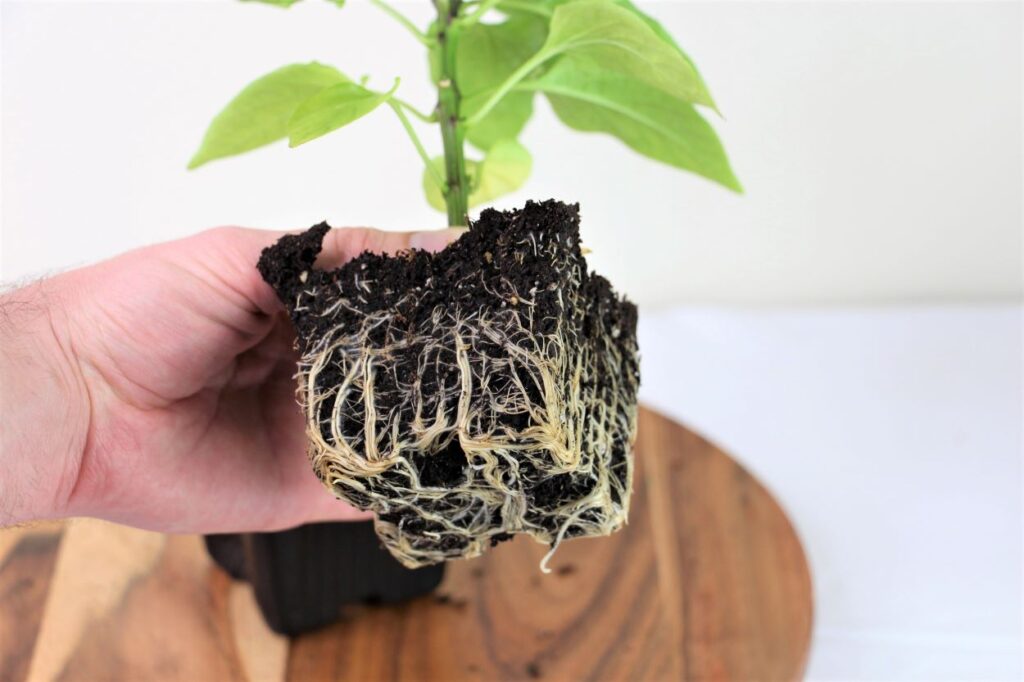
You want to ease into the season carefully because you don’t want plants sitting in trays too long getting root bound and stressing while the weather warms up. That would have an impact on the quality of the harvest later on.
Step three: The size of the modules you will use
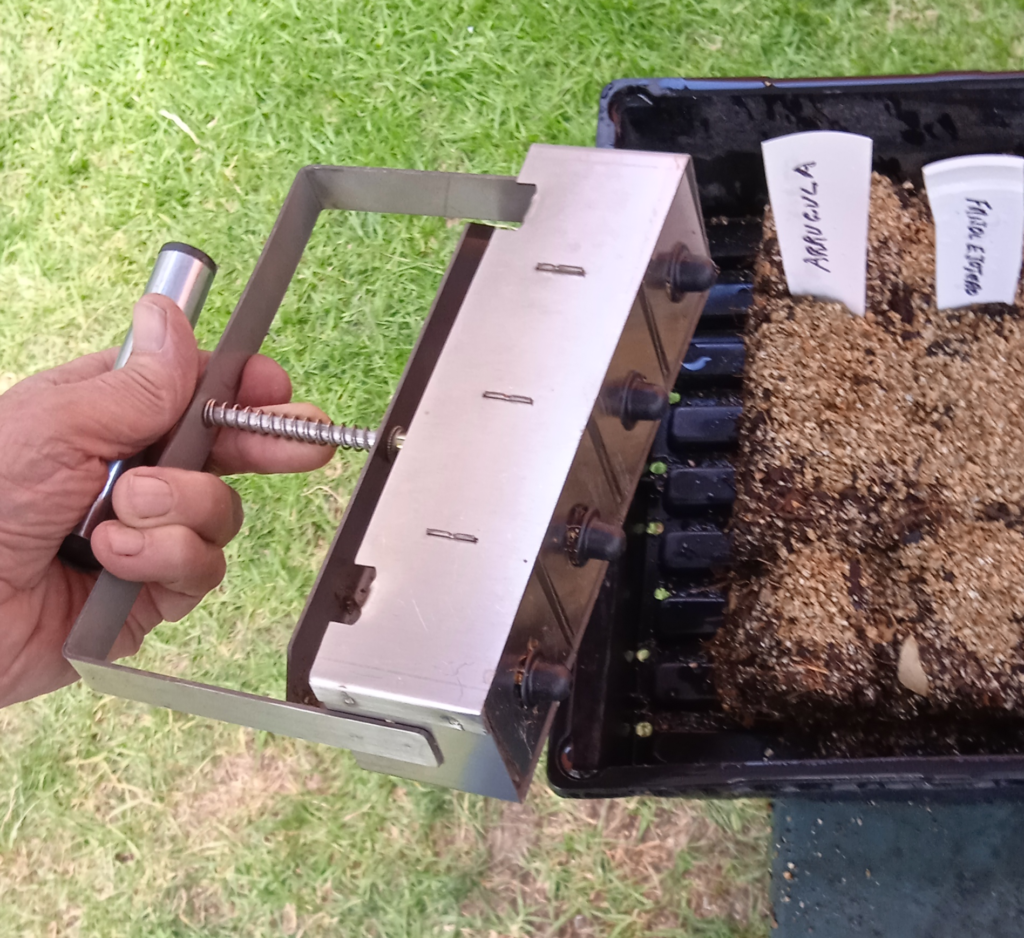
Many people use seed-starting trays with small cells. Or to save money, they may use toilet paper cores cut in half, or even cardboard or paper cubes. I like to make free-standing cubes of soil in an open tray using a soil-blocking tool. These tools are available in a variety of sizes. Most of the time I use the one that makes a set of four 2″ square soil blocks.
With practice, you can make the blocks in one smooth, easy motion; this is supposed to be a stress relief activity. Simply mix and wet your soil of choice, press in using the handle, and you’re ready to plant your seedlings. The soil blocker minimizes damage to fragile root systems during transplanting and avoids root binding as the roots are air pruned when they reach the edge.
Step four: The growing medium
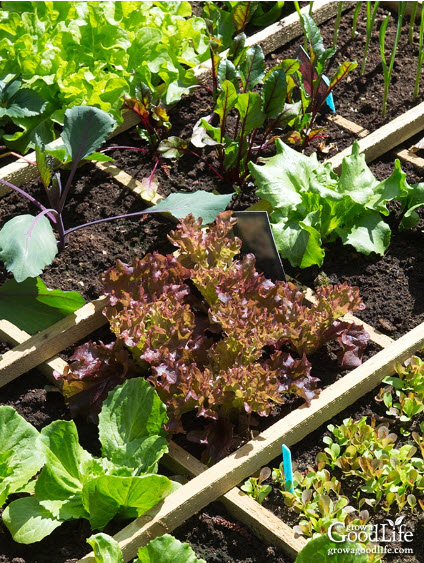
I avoid a lot of complexity by using a formula I learned from Mel Bartholomew, who developed the square-foot garden concept in 1976. He published his Square Foot Gardening book in 1981. It has been revised many times and is still in use today.
The theory of square-foot gardening is to use a bottomless raised bed filled with a soil blend of equal amounts of peat moss, vermiculite, and finished compost from many different sources to add a diverse amount of nutrients. I substitute coca-fiber for peat moss for environmental reasons.
I also follow the work of Dr. Elaine Ingham, who emphasizes the role of micro-organisms in what she calls The Food Web. So I look for bio-active compost for my mix when I’m not using my homegrown kitchen-scrap product.
Step five: Watering
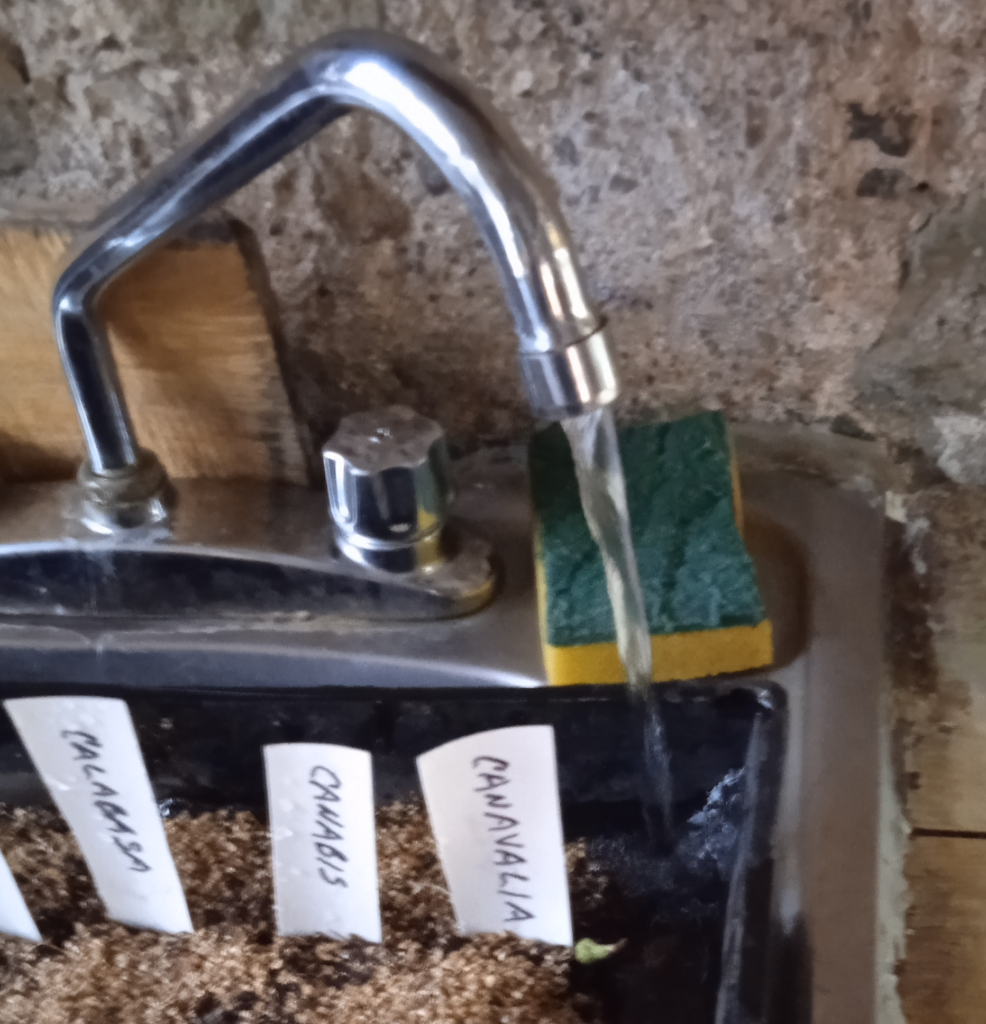
The lstres relief way of watering is to automate it as much as possible. I drill holes in the bottom of one end of my open trays so I can fill the trays halfway with water for three or four minutes once per day. Then I let the water drain from the holes.
It’s important that the water inflow be very gentle, so as not to disturb the soil blocks.
I think that next to lack of light, and poor soil, lack of water is the leading cause of seed starting failure.
Step six: Planting depth
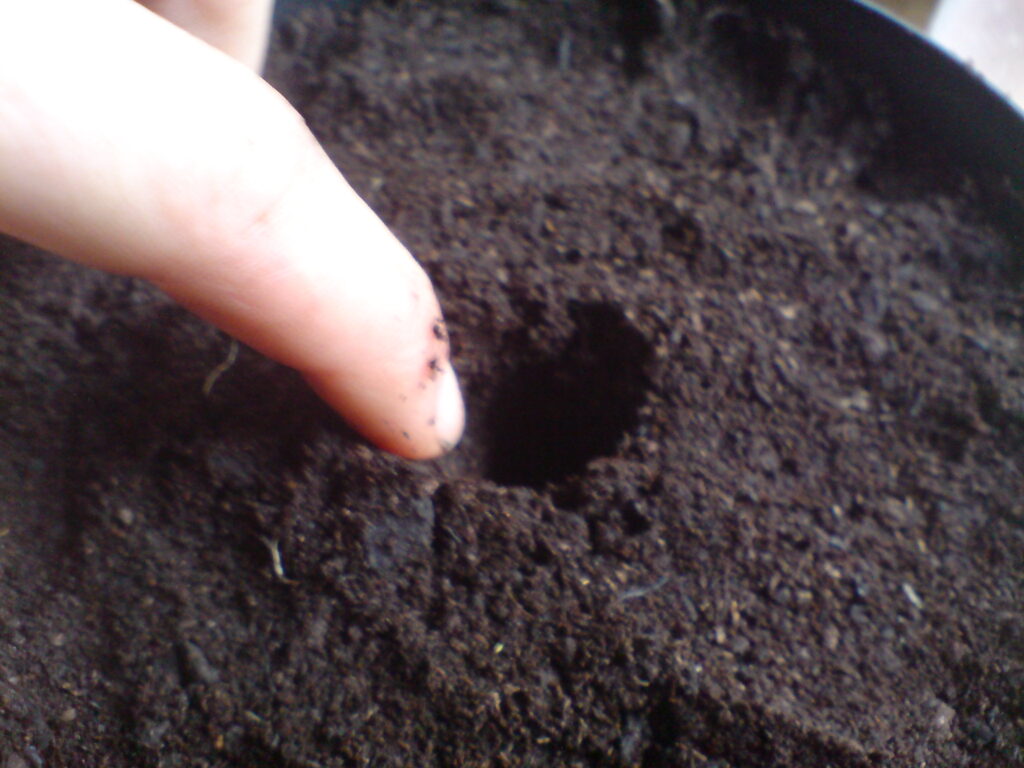
In nature, seeds just drop to the ground and grow any way they can. So the depth at which you plant a seed doesn’t really matter all that much.
If you purchased your seeds in a commercial packet, use the directions there as a guideline. Or there are plenty of seed planting depth charts on the web.
But don’t worry too much about it.
Step seven: Multi-seed planting
Multi-planting seeds allows you to massively increase the chances that you will get the number of plants you want out of each soil block. Of course, you can thin the seedlings if they become overcrowded.
But here again, I don’t stress too much about how many seeds I put per block. I just use a pinch of seeds, just like a pinch of salt and let this be a stress relief decision.
Step eight: Cover
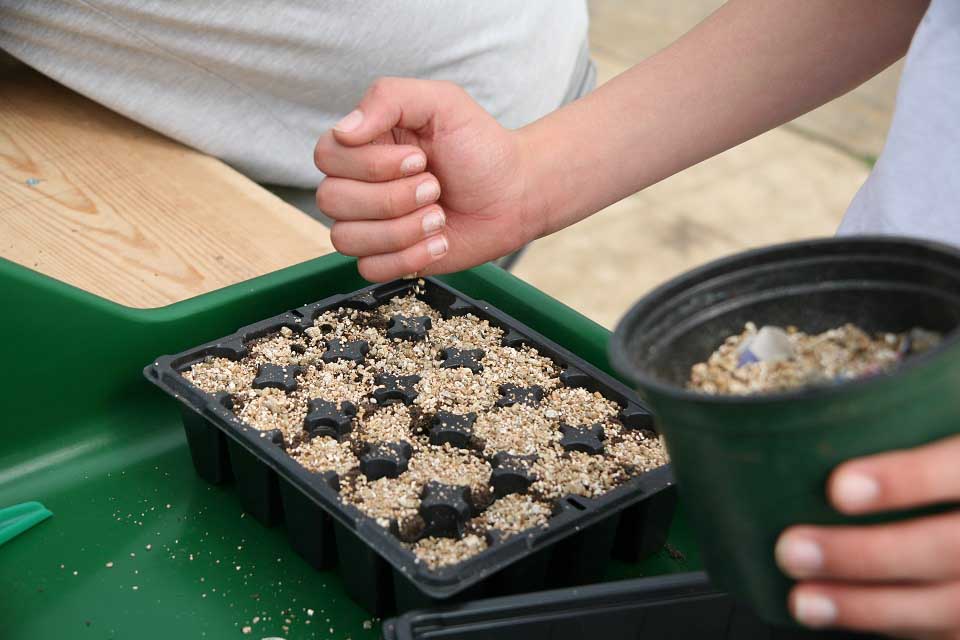
I use Vermiculite to cover newly sown seeds. Because it is light it will not hinder seed germination. Plus it holds onto water and allows light through to encourage good germination.
Lacking vermiculite, you can use finely sifted compost or growing mix.
Step nine: Top watering
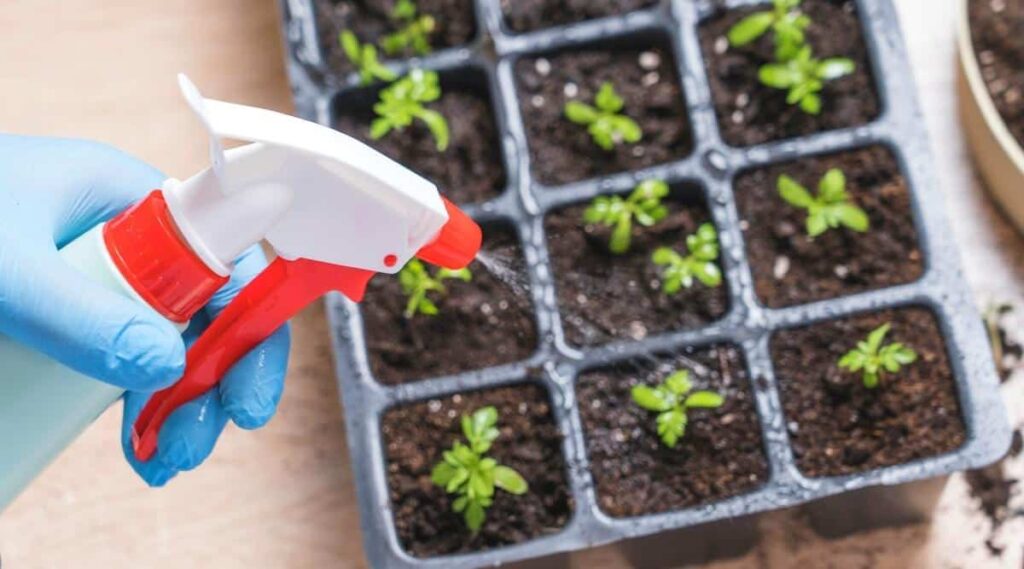
We’ve already soaked the base of the blocks. Now it’s time for a light spray of water over the top to give the whole block a consistent amount of moisture.
Step ten: Labeling
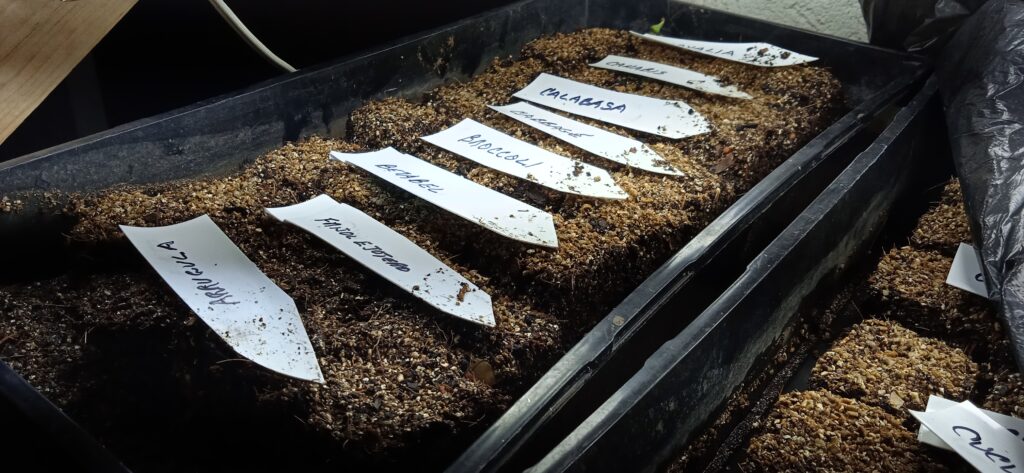
It’s easy to forget, but it’s important to label the blocks with the name of the seedlings. I cut Danon yogurt containers into strips. Danon covers their containers with a plastic printed layer, so when you remove that layer, the container is blank on the inside and out. That makes for great two-sided plant labels.
Lay the labels flat, so you can accommodate the next step.
Step eleven: Cover all with plastic or cardboard
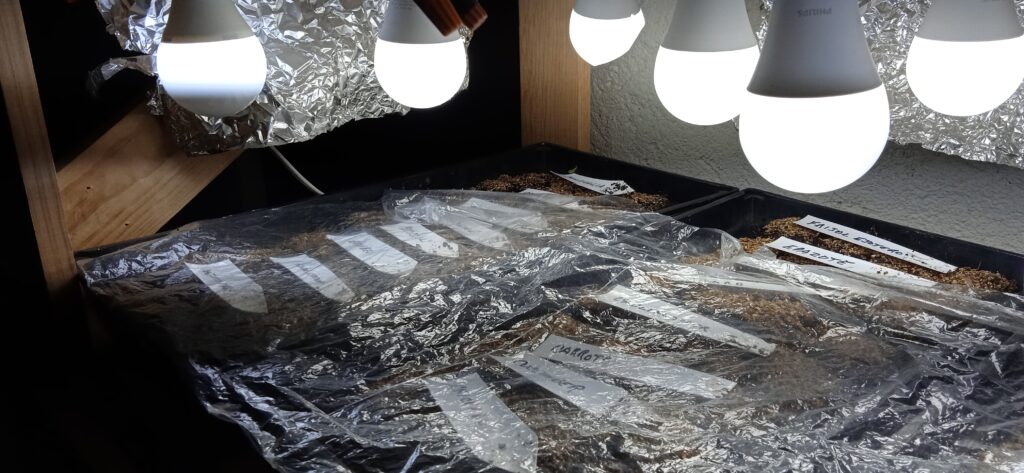
With the labels flat, you can cover the trays with cardboard or plastic until the seeds germinate. This will prevent water evaporation, drying of the soil blocks. and germination failure.
Step twelve: Protect against pests
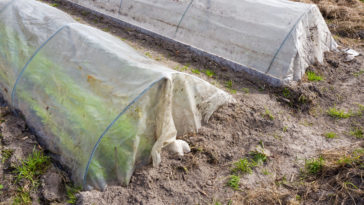
Depending on your location, pests such as mice and voles or even birds and house pets can wreak havoc with your hard-earned seedlings. I have no problem indoors. But as soon as I take the trays outside, certain seedlings get devoured. I have experimented with a variety of wire mesh and net enclosures. Yet I still lose some of my cherished seedlings.
Experiment on your own. And good luck and enjoy your stress relief space!
Step thirteen: Prepare for what comes next
You’ve got seedlings to look after, and soon you will have seedlings to transplant. We will soon have posts on this next step. So sign up to get notified of our continuing stress relief gardening posts, workshops, and free downloads, If you have not done so already, you can sign up for our newsletter on our home page: www.greenthumbformula.com


Please type here any topic you’d like to see addressed in this blog.